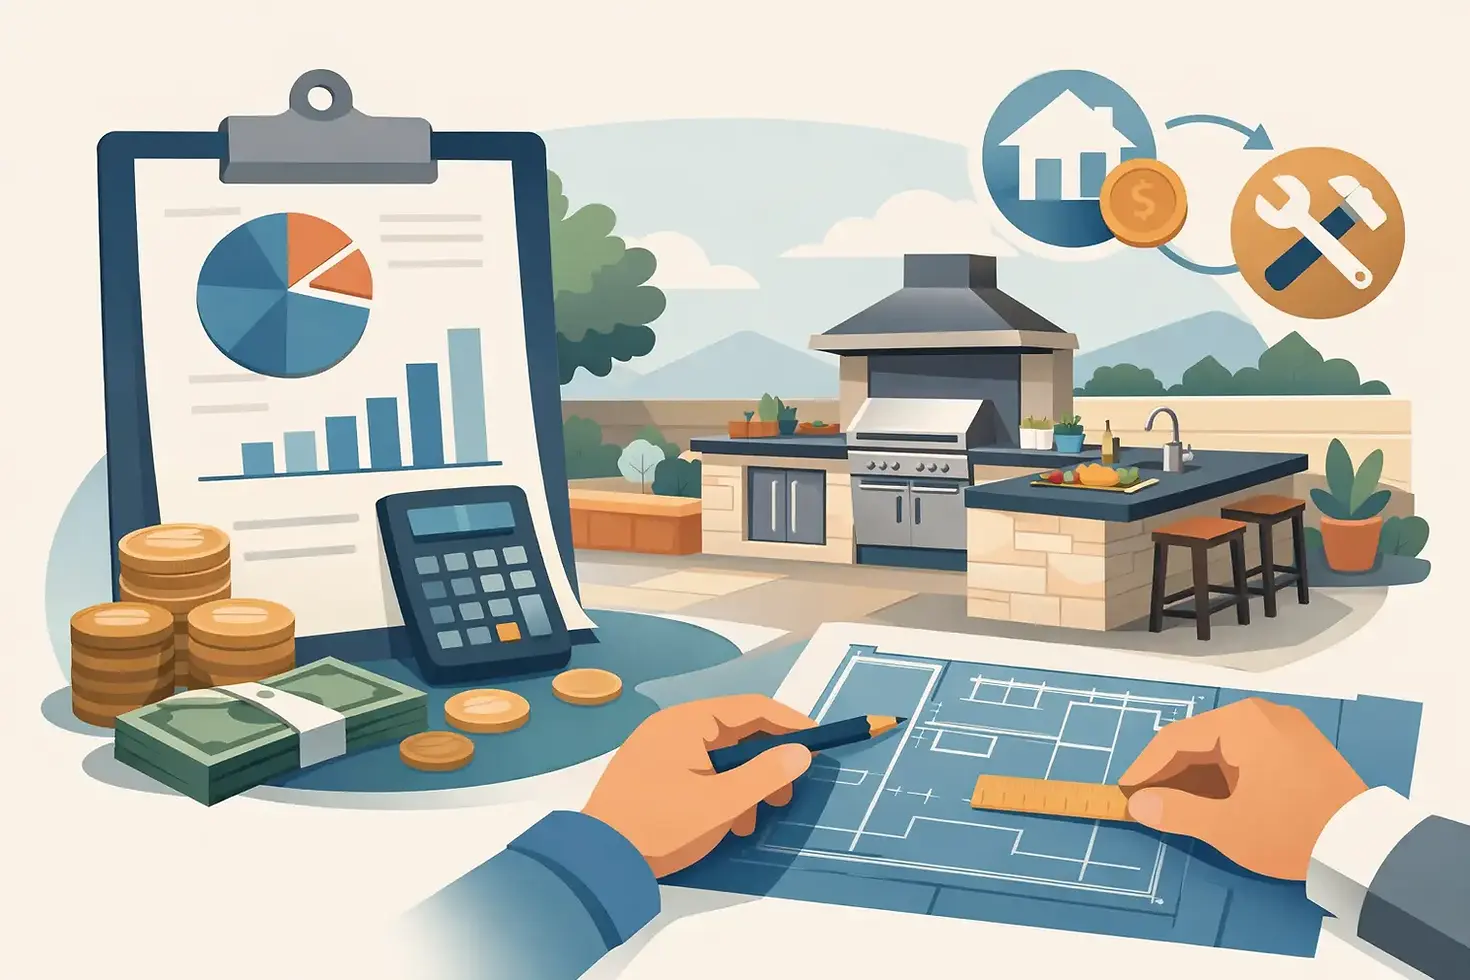
How to Budget for an Outdoor Kitchen Build

A backyard kitchen can look like a simple grill island from across the pool. Up close, it is a permanent outdoor construction project exposed to heat, rain, humidity, salt air, spills, grease, and daily use. That is why learning how to budget for an outdoor kitchen starts with more than choosing a grill and picking a countertop color. It starts with deciding what must last.
For Florida homeowners, the lowest initial number is rarely the lowest cost over time. A kitchen that is underbuilt, poorly framed, or finished with materials that cannot handle the climate can become an expensive redo. A smart budget protects the parts you cannot easily see or replace, then puts the remaining investment toward the cooking and entertaining features that matter most to your family.
Start With the Way You Actually Cook and Entertain
Before discussing finishes or appliance brands, define the job your outdoor kitchen needs to do. Are you cooking weeknight dinners for four, smoking brisket for a crowd, hosting game-day gatherings, or creating a full poolside entertaining zone? The answer determines the footprint, utility needs, storage requirements, and appliance package.
A homeowner who grills two nights a week may need a high-quality built-in grill, practical prep space, and cold storage. Someone who hosts large family gatherings may need a larger grill, a refrigerator, sink, ice maker, beverage center, and more counter room for serving. Neither approach is wrong. The budget gets inefficient when you pay for equipment that will sit unused while overlooking the features that would make every cookout easier.
Measure the available area, but also consider circulation. Guests should be able to move around the cook without creating a traffic jam between the grill, pool, patio door, and seating area. A smaller, well-planned kitchen often delivers more value than an oversized layout that consumes the entire lanai.
How to Budget for an Outdoor Kitchen in the Right Order
The strongest budgets are built from the ground up. Put structural work, utilities, and weather-resistant materials ahead of cosmetic upgrades. A polished facade cannot compensate for a weak frame or improperly planned electrical and plumbing lines.
Start by separating your project into four investment categories:
Site preparation and utilities, including slab conditions, electrical, gas, plumbing, drainage, and permits when required.
The kitchen structure, frame, fastening system, weather-resistant construction, and architectural finish.
Appliances and functional components, such as the grill, refrigerator, sink, doors, drawers, ventilation, and specialty cooking equipment.
Design upgrades, including countertops, lighting, seating walls, backsplashes, decorative finishes, and added entertainment features.
This order gives you control when decisions need to be made. If the budget needs to tighten, simplify a decorative upgrade or postpone a specialty appliance before compromising the structure that supports the entire kitchen.
For a permanent outdoor build, ask what is behind the finished surface. At Primal Outdoor Kitchens, that means fabrication-driven construction using welded 1x2x1/8-inch aluminum tubing, stainless steel hardware, and architectural masonry finishes designed for demanding outdoor conditions. Those choices are not simply details for a spec sheet. They are the foundation of a kitchen built to stay straight, secure, and good-looking through Florida weather.
Set a Range, Not a Single Number
A custom outdoor kitchen is not a one-price product. Layout complexity, access to the backyard, appliance selection, countertop material, utility runs, and finish details all affect the final investment. Instead of starting with one hard cap, establish a comfortable range and a clear maximum.
Your comfortable range is where the project delivers the features and durability you want without creating financial strain. Your maximum is the point where you will not go further, even if an upgrade is appealing. Sharing both numbers during a design consultation helps the builder recommend options that fit the project rather than presenting a design that must later be cut apart.
It also helps to reserve a contingency of roughly 10 to 15 percent for site-specific discoveries or decisions that become clearer once design and utility planning begin. Existing patios may need modifications. A new electrical circuit may be needed. Gas, water, or drain lines may need to travel farther than expected. A contingency is not a sign that planning failed. It is a practical way to keep a custom build moving without panic decisions.
Spend More Where Weather and Heat Do the Most Damage
Florida does not treat exterior materials gently. UV exposure, seasonal downpours, coastal air, humidity, and intense heat can expose shortcuts fast. This is where a budget should reflect the reality of the environment.
Prioritize a fabricated frame engineered for exterior use, quality hardware, proper appliance cutouts, durable countertop materials, and finishes that are made to perform outdoors. These are the elements that determine whether doors align, finishes hold up, and the kitchen remains solid after years of use.
There is a trade-off here. A premium structural system may leave less room on day one for a second refrigerator, pizza oven, or elaborate lighting package. But added appliances can often be planned for later. Rebuilding a deteriorating cabinet structure is far more disruptive and costly.
The same thinking applies to your countertop. The right selection depends on sun exposure, maintenance expectations, design goals, and budget. A surface that looks excellent indoors may not perform the same way in direct Florida sun. Ask how the material handles heat, staining, UV exposure, and regular outdoor cleaning before making a decision based on a sample alone.
Choose Appliances Based on Cooking Priorities
The grill is usually the anchor of the outdoor kitchen, so allocate carefully here. Consider the cooking area, burner configuration, fuel type, ignition system, rotisserie needs, and how many people you routinely cook for. A larger grill is not automatically better if it takes up valuable prep space or exceeds your real needs.
After the grill, focus on function. Refrigeration is valuable for frequent entertaining because it reduces trips inside. A sink can be worth the added plumbing expense when food prep and cleanup are part of the plan. Storage doors and drawers make the kitchen work harder by keeping tools, fuel accessories, and serving supplies close at hand.
Specialty appliances should earn their place. A side burner, griddle, power burner, smoker, kegerator, ice maker, or pizza oven can be a great addition when it matches your habits. If it is mainly a feature you imagine using once or twice a year, design the layout so it can be added later rather than forcing it into the first phase.
Do Not Forget the Costs Around the Kitchen
Many first-time budgets account for the visible island but miss the work required to make it functional. Utility planning can have a major impact on price, especially when the kitchen sits far from the home or when a patio was not originally built for this use.
Electrical needs may include dedicated circuits for refrigeration, lighting, outlets, fans, and entertainment equipment. Gas planning depends on fuel type, line sizing, shutoff access, and the distance to the source. A sink may require both water supply and drainage. Local permitting requirements can also shape the scope.
Access matters too. A backyard with tight side-yard clearance, elevated decks, screened enclosures, or limited staging space may require additional labor and coordination. Bring these details up early. Accurate information produces a more useful proposal and fewer surprises during installation.
Use Phasing Without Building a Compromise
Phasing can be a smart budget tool when it is planned from the beginning. Build the complete structural shell, utilities, counters, and primary grill station now, then add secondary appliances or surrounding features later. The key is to prepare for the future phase while the kitchen is being designed.
For example, reserve the proper space and utility access for a future refrigerator, ice maker, or entertainment feature. This avoids tearing into finished work later. A phased plan should feel intentional, not unfinished.
Be cautious about phasing the structural elements themselves. Building a small, low-cost kitchen now with the expectation of attaching a larger custom addition later can create design and construction limitations. It is usually stronger to establish the right footprint and framework from the start, then phase the accessories.
Ask Questions That Reveal Build Quality
When comparing proposals, do not compare only the bottom line and appliance list. Ask how the frame is fabricated, what hardware is used, how the finish is constructed, how appliances are supported, and how the kitchen is designed for the local climate.
You should also ask what the quote includes. Does it cover design, delivery, installation, utility coordination, countertops, appliance installation, and cleanup? Are there allowances that could change later? A detailed quote may look higher than a vague estimate, but clarity is value. It lets you make decisions with your eyes open.
The goal is not to spend the most. It is to invest in a backyard kitchen that performs every time you light the grill, gather friends around the counter, or enjoy a quiet dinner outside. Build the structure for the elements, choose the features that fit your life, and let the finished space earn its place in your home for years to come.


Comments